Adding a Voice Enabled Vonage Number
First, signup for a Vonage account and add a voice-enabled number.
After signing into your Vonage APIs dashboard, click Numbers on the left hand side, then Buy Numbers.

Follow the steps provided to purchase a virtual number. Be sure to check the ‘Voice’ feature, if you want a voice-enabled number! We also recommend getting a toll-free number.
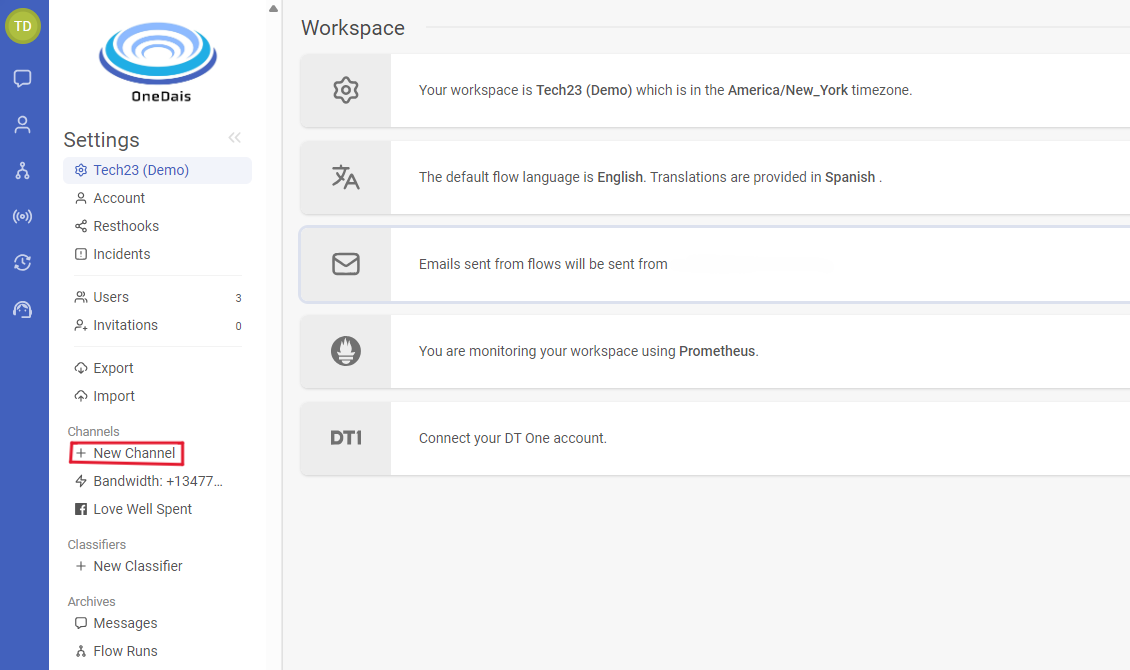
Next, navigate to your TextIt workspace settings page, and click the + New Channel button on the top-right side of your screen.
Scroll down to find the Vonage section.

If this is the first time you’re connecting a Vonage account to your workspace, you’ll be prompted to enter the API key and secret listed on your Vonage account’s settings page.

After adding your account, you’ll connect a phone number. Choose the country from the dropdown to find available numbers. Note that the ‘Pattern’ is optional.

You’re ready to start using your voice-enabled Vonage number! Learn how to add your own audio to outgoing messages here.